There are now two display options for deals:
The familiar list view
The new pipeline view
The pipeline view allows you to move deals through a standardized sales process consisting of different stages.
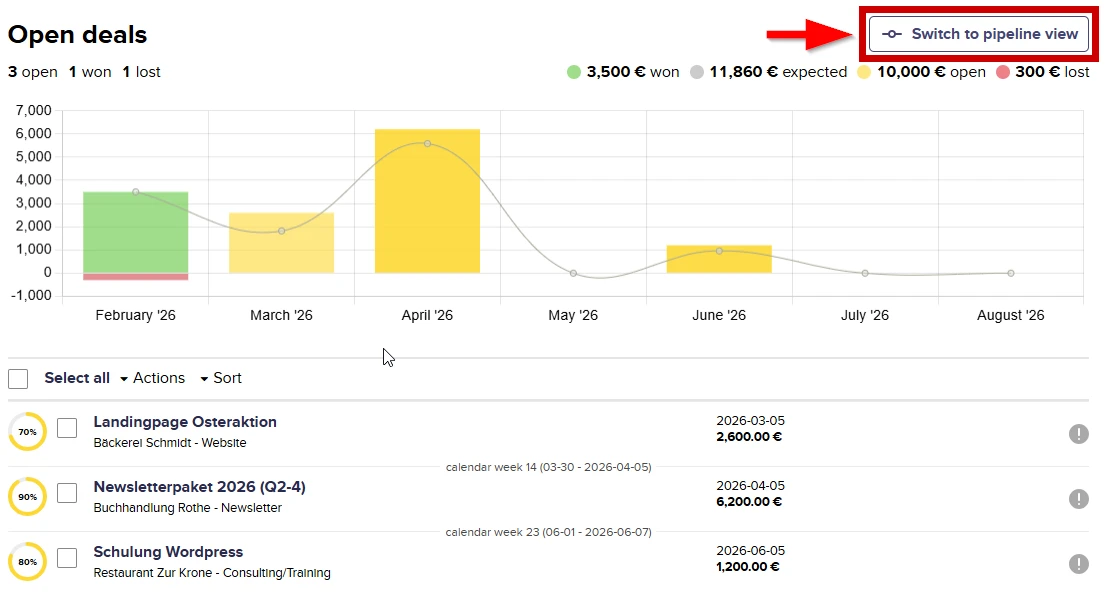
You can access it by clicking the Switch to pipeline view button on the deals tab.
The pipeline view displays the deals divided into columns, known as stages. Currently, deals can be in three stages: Open, Won, and Lost:
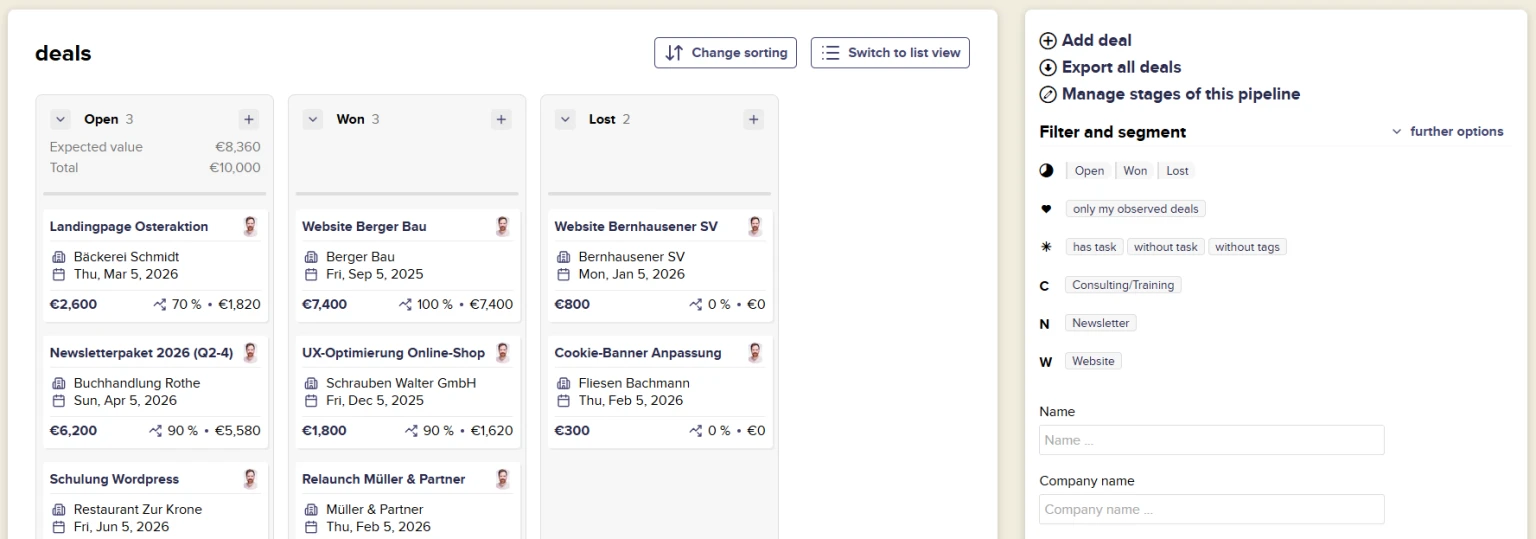
You can change the stage of a deal in the pipeline view by dragging the deal from one column to another with the mouse:
-medium.webp)
You can now tailor your pipeline even better to your process by adding additional stages or changing the name of the pipeline or the deals in it. You need (co-)owner rights to make these changes.
To edit your pipeline or create additional stages, click Manage stages of this pipeline in the upper right corner of the pipeline view.
Edit pipeline
Click Edit pipeline in the top right corner.
Naming
To tailor the pipeline to your specific project, you can freely name the pipeline and the entries that pass through it.
Pipeline name, e.g., deals
Entry names in singular and plural, e.g., opportunity, opportunities
Data fields
Even though deals have a monetary value, a target date, and a probability by default, there may be cases where it is not necessary to record this data. That's why you have the choice of whether or not to assign the following fields to the entries that pass through your pipeline:
Monetary value - Do your pipeline elements have a specific value, e.g., because they are offers, goods, or services with a specific price? Then add a field where this can be entered.
Target date - Is there a deadline by which your leads or entries should have passed through the pipeline or been processed? Then add a field for a target date.
Probability - You have the option of specifying the probability (in 5% increments) of a successful conclusion for each entry/lead.
Edit stages
In the stage overview, which initially only contains the stages Won and Lost, you can create new stages. CentralStationCRM also offers suggestions through templates for various purposes, which you can select and insert.
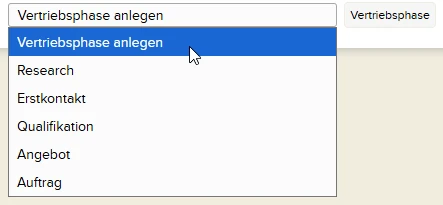
To create your own new stage, click on Create stage.
In the pop-up that appears, you can now add another stage to your deal pipeline. Give the stage a name, a short description, and a color.
Classic stages include “Contact,” “Qualification,” “Initial Meeting,” “Offer Sent,” and “Renegotiation,” followed by one of the final stages, ‘Won’ or “Lost.”
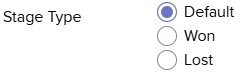
Stage type
All intermediate stages (which do not have a final, conclusive character) should be left as Default.
By default, your pipeline already has a Won and Lost stage. The Won and Lost stage types are important if you want to delete the existing stages and create your own stages that correspond to the win or loss of your offers. Then set the type to Won or Lost accordingly. This tells CentralStationCRM how to interpret the individual stages of your pipeline and enables it to provide reliable data for performance monitoring and filtering.
Now click Save and your pipeline will have an additional stage through which you can move your deals.
Adding contacts or companies to a pipeline
Before we introduced pipelines, a popular use case was to map the sales or quotation process at the contact or company level using custom fields or tags. You can now transfer the contacts you have processed in this way to your pipeline.
Let's assume you previously had a sales funnel in the form of a custom field for contacts:
In a first step, create a stage in your pipeline for each status contained in the drop-down menu (see above, Edit stages).
Now click on the first value in your existing drop-down menu on the contact or company list page. Select all contacts in this selection and go to the Actions item at the top of the page. In the drop-down menu, click on Add to Pipeline:
-medium.webp)
In the selection box that now appears, select the stage you created earlier that corresponds to the selected value from your drop-down menu and confirm by clicking on the button.
Repeat this process for all field values and their corresponding stages.
The contacts or companies from your old sales funnel are now entries in your pipeline in their respective stages.
Add more pipelines
You can also manage more than one pipeline in your account. Unlimited pipeline usage is a paid add-on that you can purchase under Gear > Account settings > Add-ons. The cost is 20 percent of your package price.